Once this rule has been set up and applied, approval for item return will be sent to the buyer automatically.
In the Select a return shipping address field, use the drop-down menu to select the required stock address where the buyer can return the item. The drop-down menu will show you all the mailing addresses specified in your account.
Here you can also allow the buyer to keep the item by ticking (✔) at the relevant box. This is recommended recommended if the return shipping costs are higher than the value of the item.

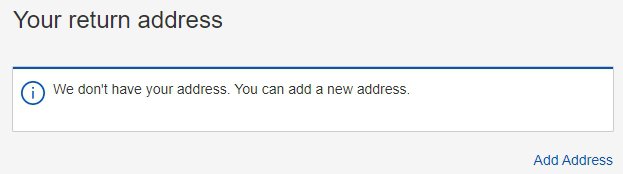
If the return address is not yet set up, click Change.
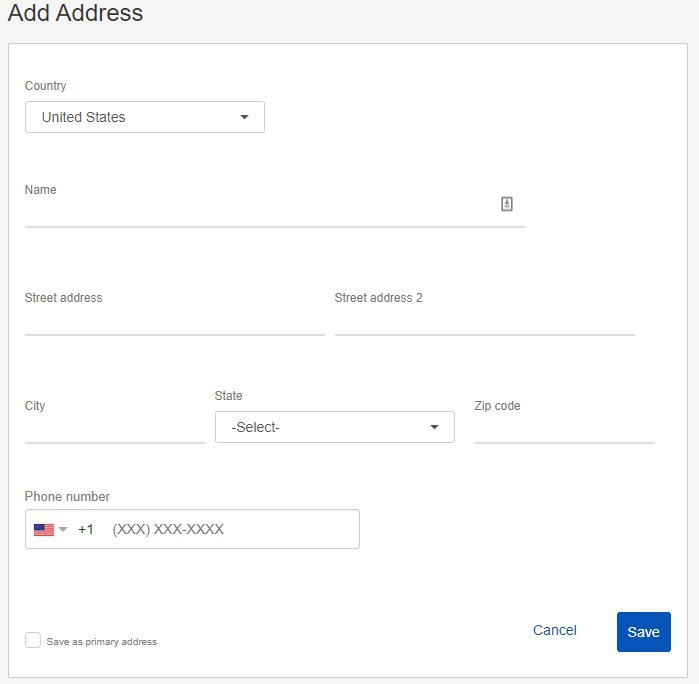
In the opened form, fill in the address data where you want to items to be returned. Here you can also assign this address as the primary one by ticking (✔) in the relevant box. Click the Save.
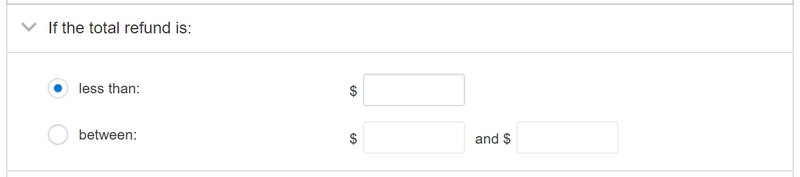
In the If the total refund is field enter the amount (in US dollars) you are ready to refund automatically.
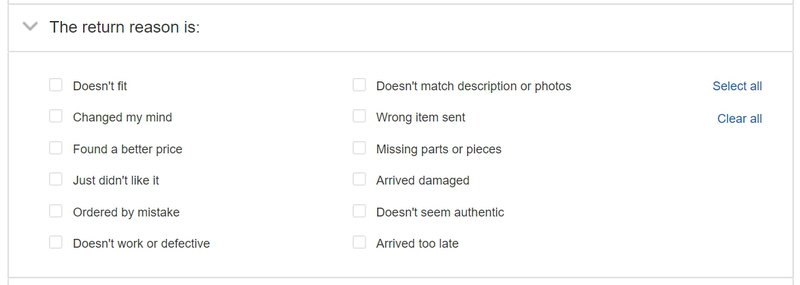
In The return reason is field, tick the boxes next to the reasons this rule will apply. You can choose one, several or all reasons. Use the Select all and Clear all buttons to tick or untick all the reasons for a refund.
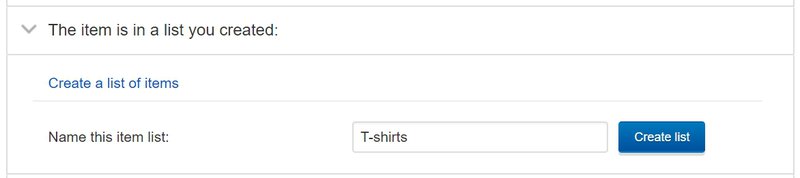
In the section The item is in a list you created you can create your own list of items this rule will apply to. To do this:
- Enter the name of the list in the field Name this item list and click Create list.
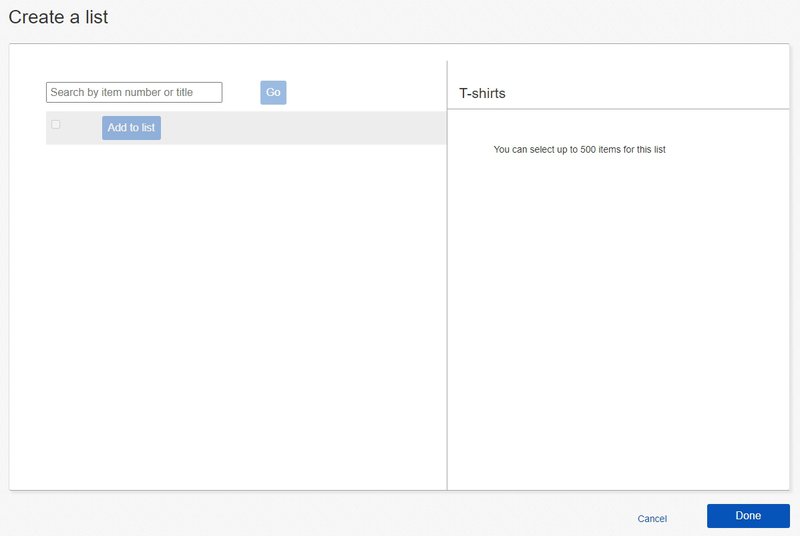
- In the opened Create a list form you can add items to the list from your stock by number or name. This setting is especially convenient for sellers with a wide range of items. Then click Done.
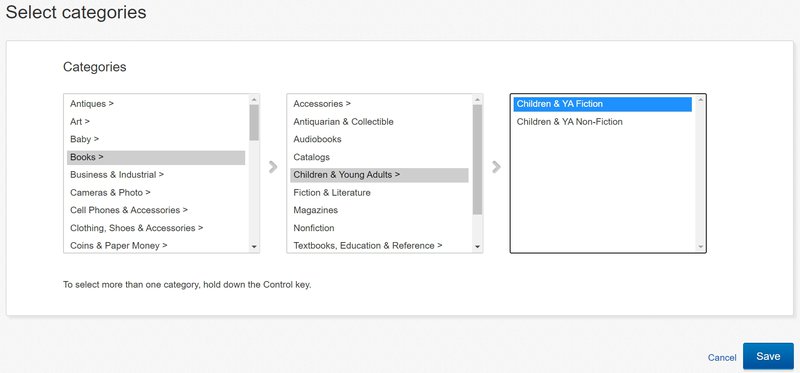
In the The item is in these categories section, you can select specific item categories this rule will apply to. To do this, click on Select categories and specify the required ones. If there are several categories, hold the Ctrl key on your keyboard. Then press the Save button.

The last form setting will allow you to extend this rule to all items with Guaranteed Delivery. To do this, simply tick the box (✔) next to the option.

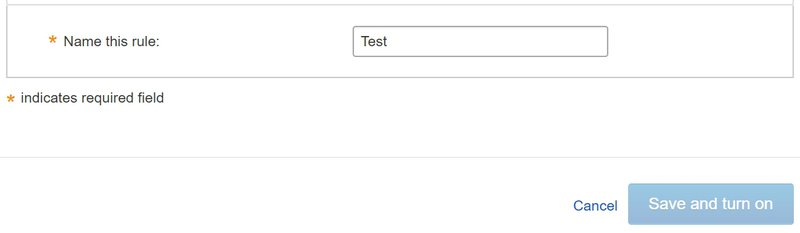
The form is done. You just need to name the rule by typing the name in the relevant field. Then click Save and turn on. The rule is enabled.
Note that creating your own advanced return rules cancels two basic rules if you have them set up. But you can always enable one or both of them ticking (✔) in the box again.