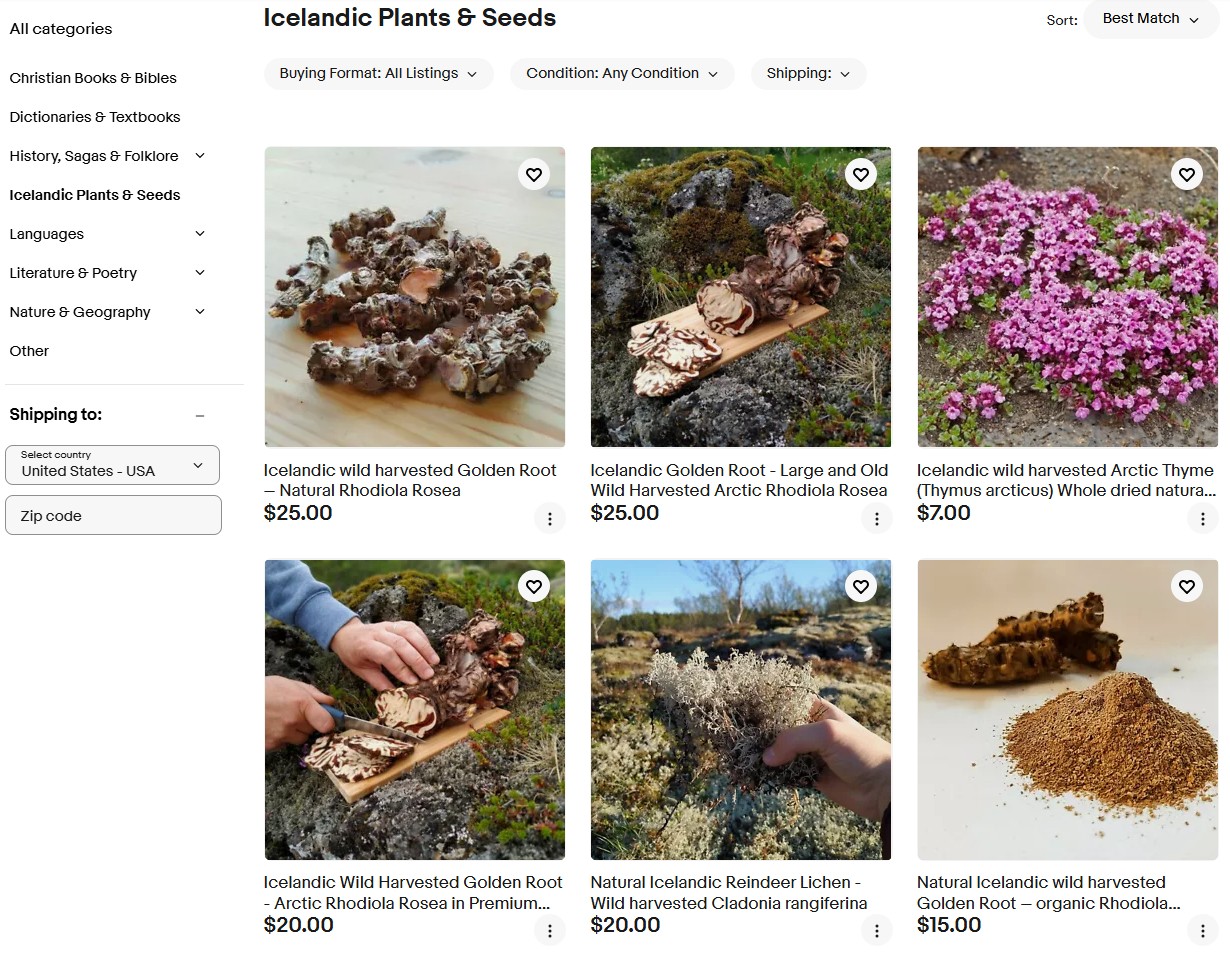
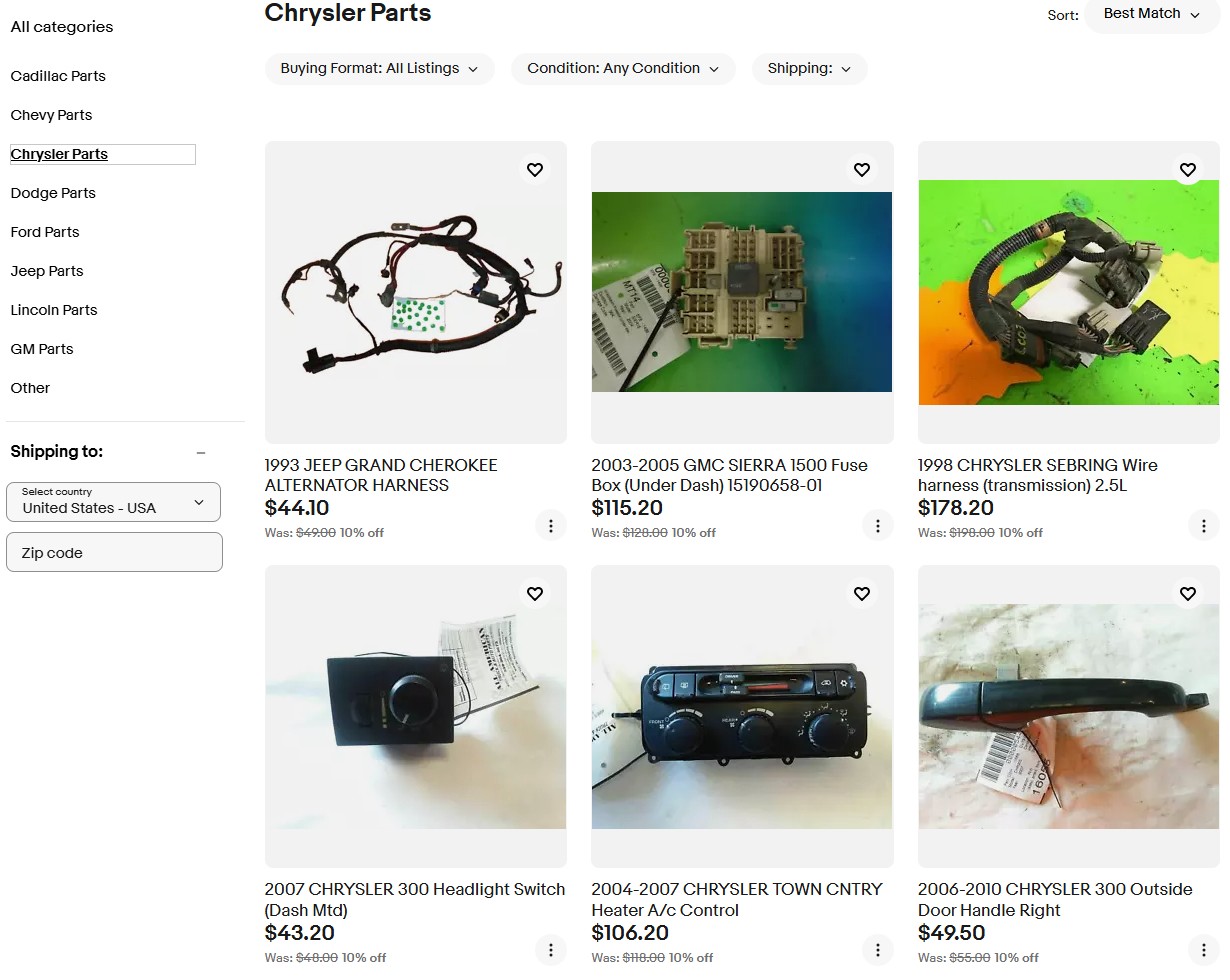
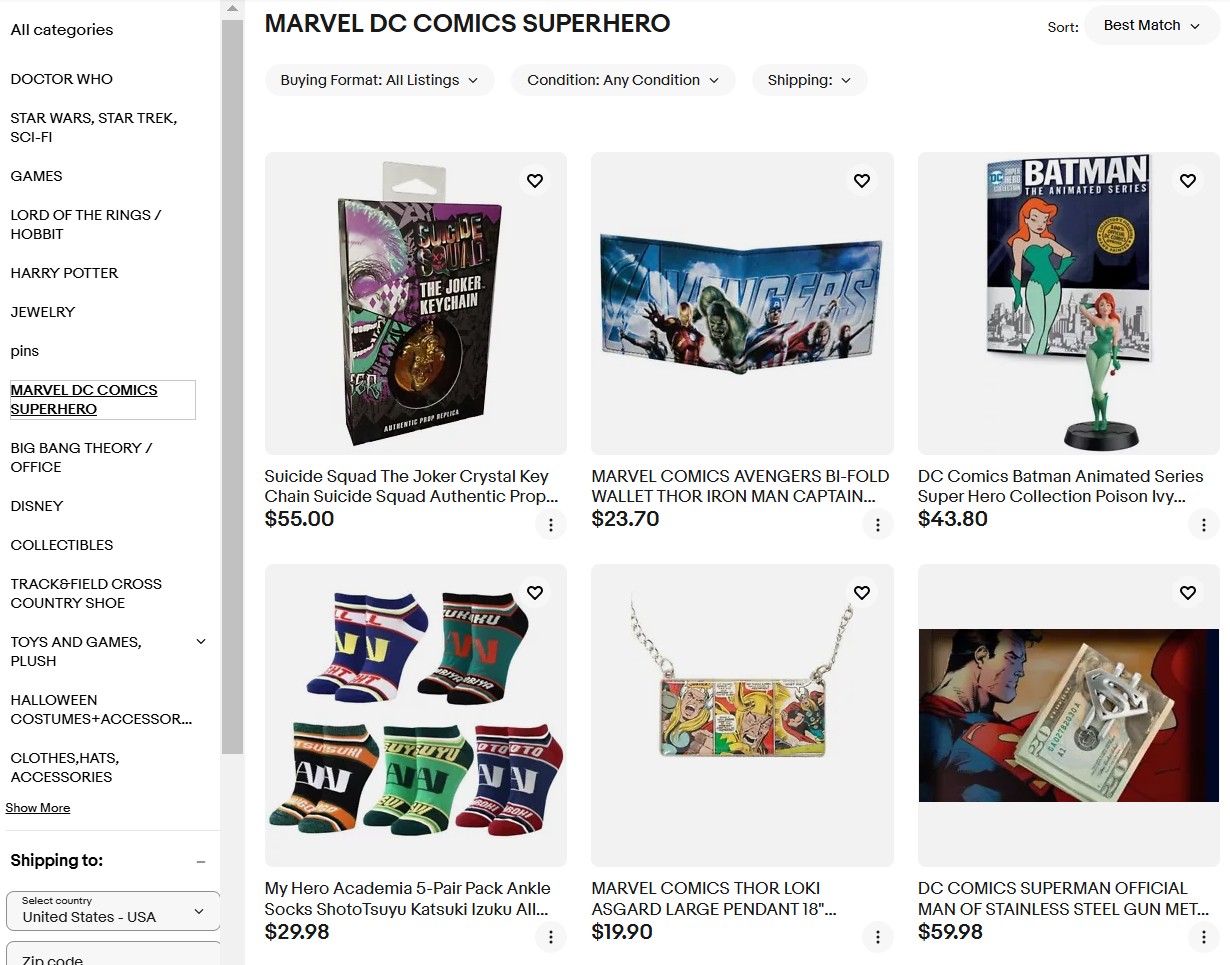
Customized Store сategories
Having an eBay store allows you to divide your items into categories or departments and customize them as you wish. You don't need to use the standard categories on the eBay site — you can create up to 300 unique Store categories to help organize your listings and display your items to buyers. You can also put items into two Store categories at a time at no extra charge.
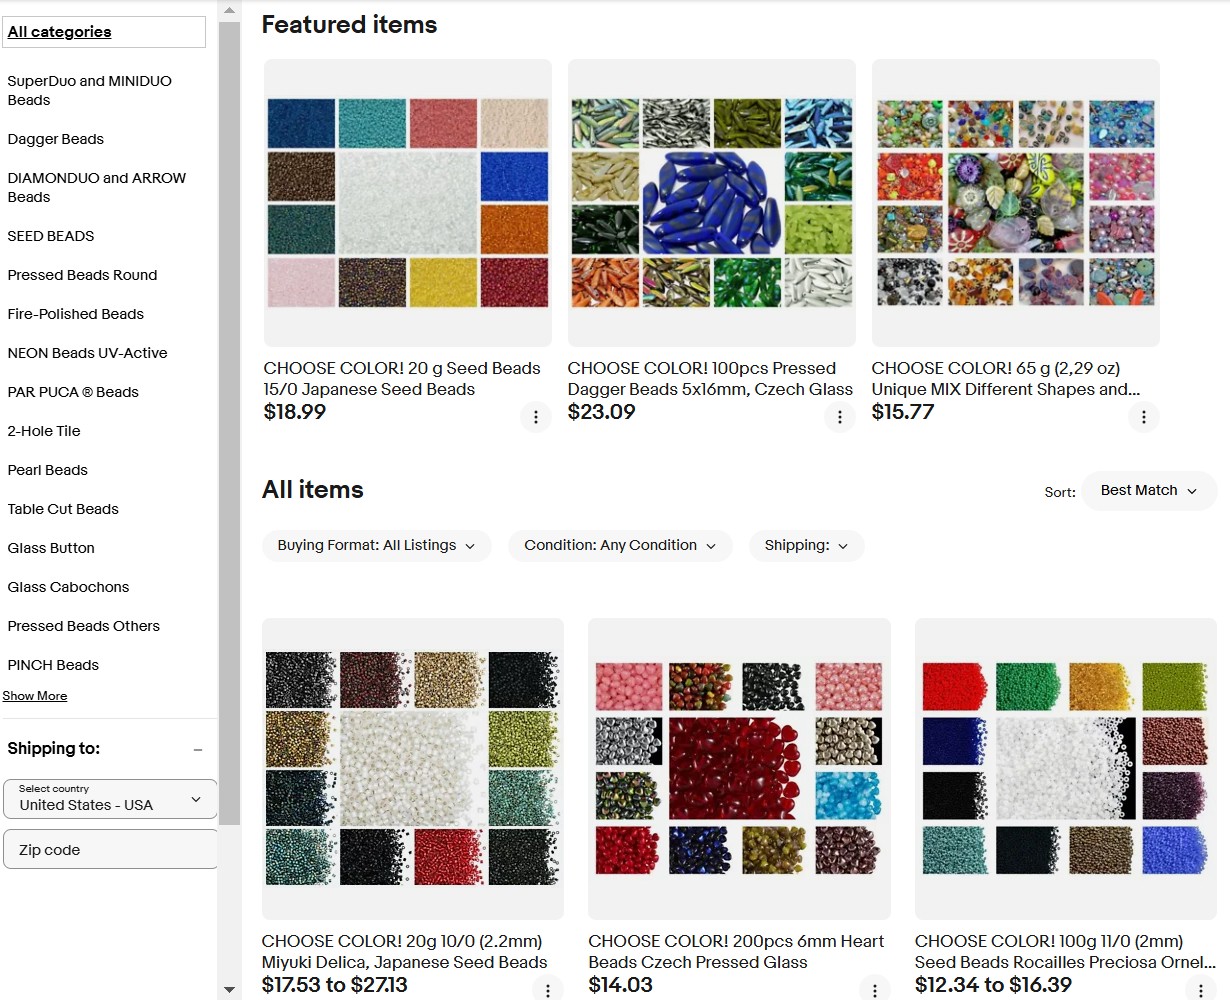
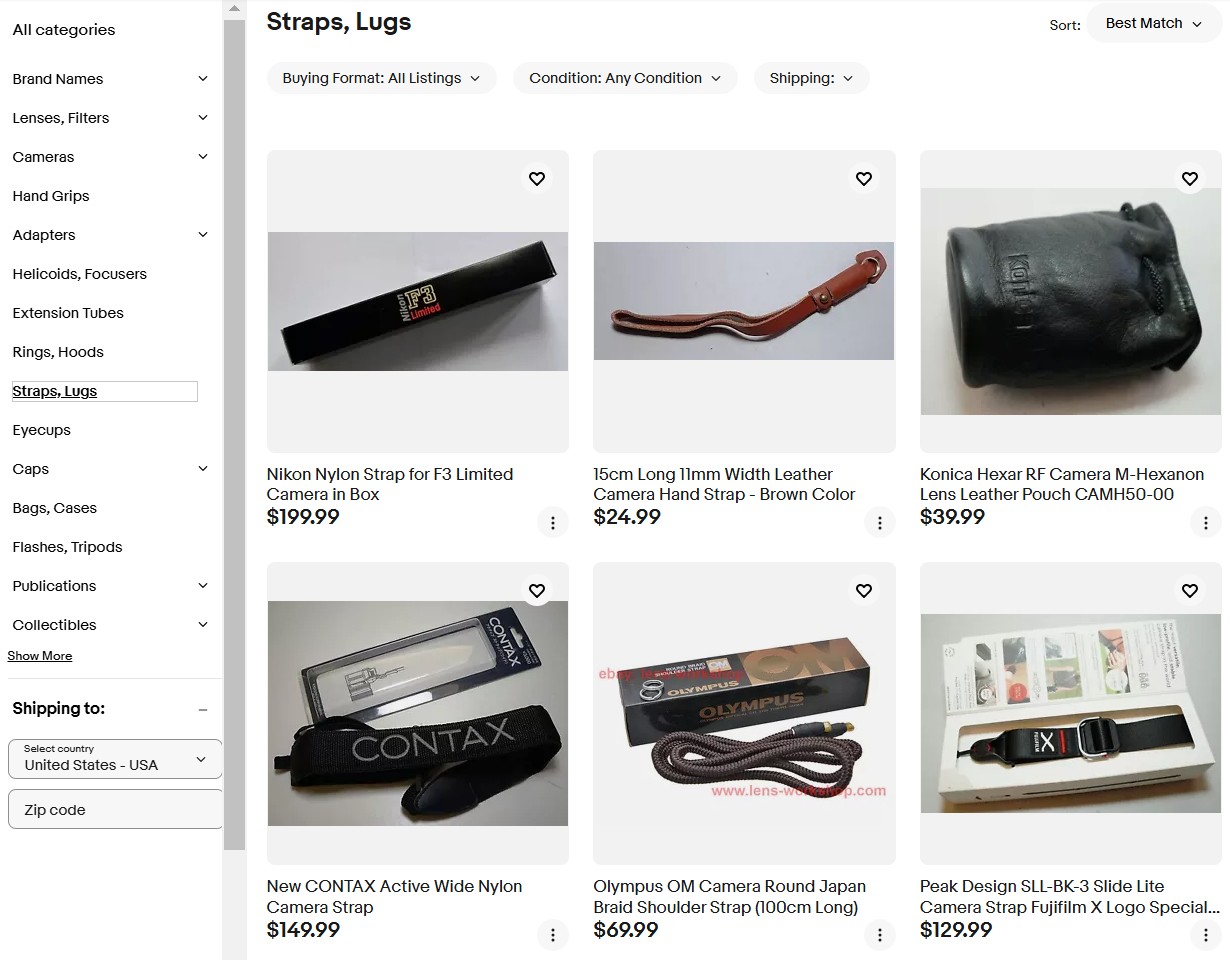
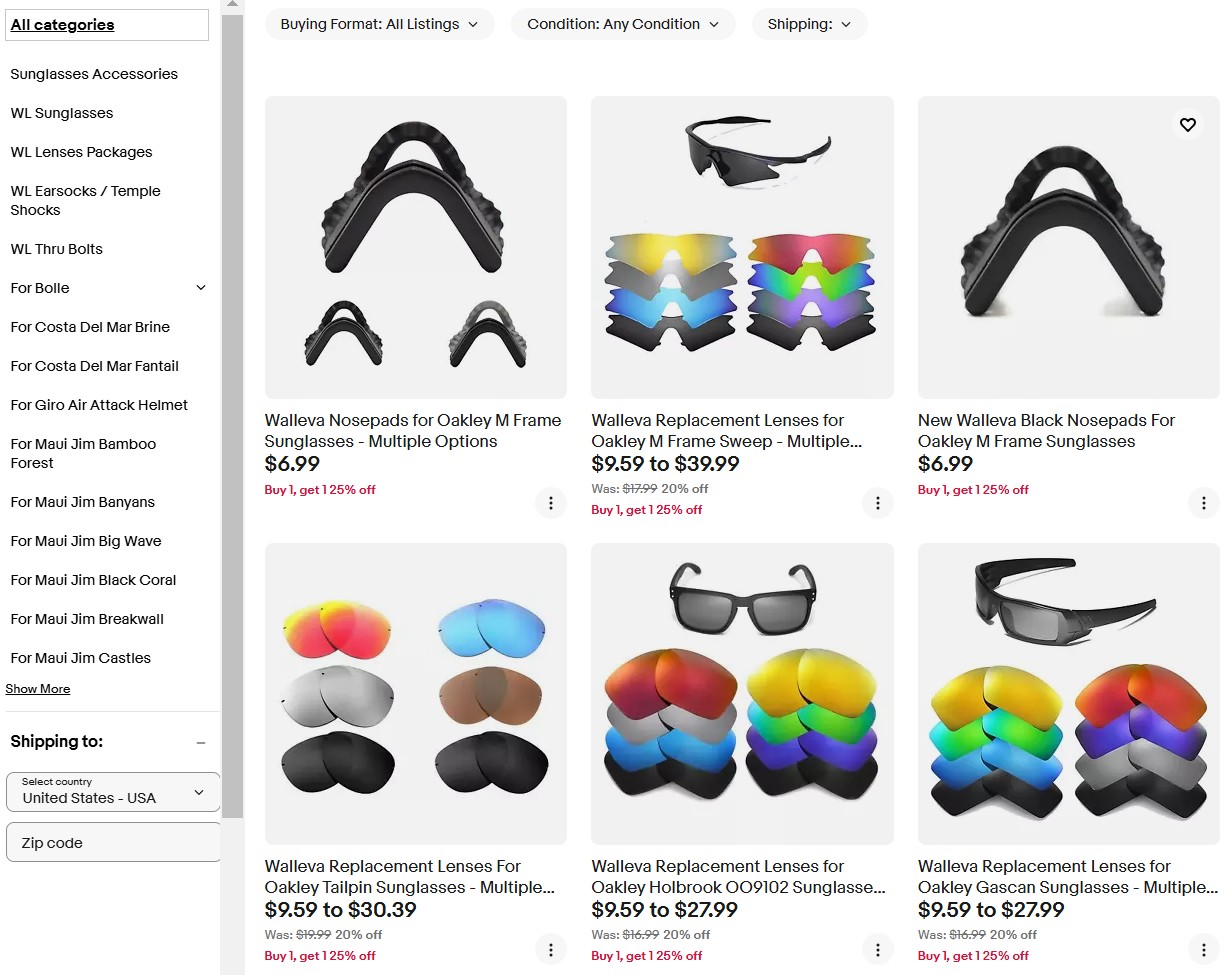
Take a look at how other eBay sellers have organized their Store categories
Benefits of using Store categories
Feature categories on Storefront
Organize your product assortment
Share direct links to a specific category
Send promotions / coupons on listings in a category
For a more user-friendly Store, make your categories and subcategories clickable by providing links to the appropriate custom pages.
How to create a category in your eBay Store
You can create and manage categories in eBay Store in just a few steps.
✅ To create a category in your eBay Store
- Select the Store tab in Seller Hub.
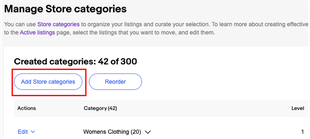
- Select the Store Categories menu on the left-hand side.
- Select Add Categories to add up to 5 categories at once that best fit the items you're selling.
- Select Save.
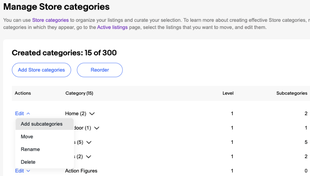
You can also add subcategories by selecting Edit next to the categories on the Manage Store Categories page. However, you won't be able to create subcategories if your categories already contain listings.
✅ To delete or rename a category in your eBay Store
- Go to Manage my Store.
- Select Edit.
- Select Move/Rename/Delete from the drop-down menu.
- Select Save.
How to add listings to a category
Now you can add or move listings in your custom categories.
✅ To add listings to a category one by one
Edit individual listings to add or change a category.
1. Go to Active Listings under Listings in Seller Hub.
2. Select the listings that you want to add and select Edit.
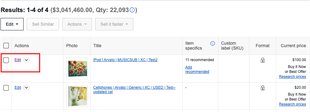
3. Choose the Store category under Listing details.
4. Assign the category using the drop-down menu.

5. Select Update listing.
✅ To edit categories for multiple listings
Change multiple listings to add or remove categories.
1. Go to Active Listings under Listings in Seller Hub.
2. Select the listings that you would like to add to the category and select Edit.
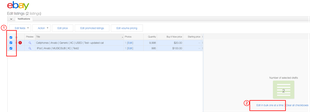
3. Select Edit selected below the Edit button.
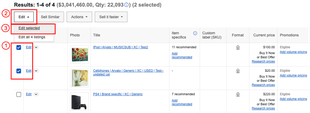
4. Tick the boxes next to all the listings you would like to add to the category.
5. Select Edit in bulk one at a time.
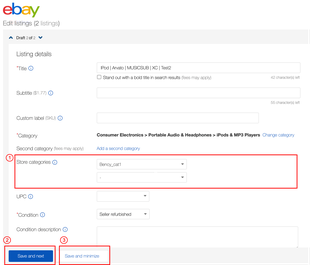
6. Assign the Store categories to each listing using the drop-down menu. Select Save and next to continue to another listing or select Save and minimize to submit changes.
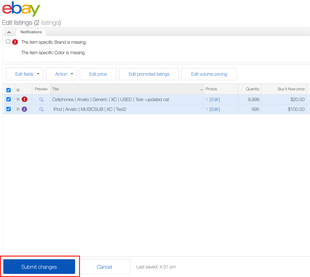
7. Select Submit changes.
✅ To move a listing to a different category
- Go to Active Listings under Listings in Seller Hub.
- Select the listings that you want to move and select Edit.
- Choose the new Store category under Listing details and select Update listing.
- To edit multiple listings at once, simply pick the ones you'd like to update, select Edit, and then Edit all listings.
How to feature your categories
Show custom Store categories on your storefront and buyers can use these categories to navigate through your Store.
✅ To show custom Store categories on my Storefront
- Select the Store tab in Seller Hub.
- Go to Manage my Store.
- Select Edit Store.
- Under Category preferences, select Store categories and publish the changes.
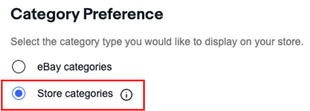
It will be shown to buyers like this:
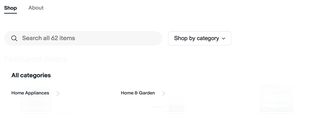
Once you've created your categories, you can choose to feature up to 6 categories on your storefront to help buyers shop by category.
✅ To feature your categories
- Select the Store tab in Seller Hub.
- Under Featured categories, select either an eBay or a Store category that you'd like to spotlight.
- Select a category from the Category menu.
- Select Add Image and choose your image.
- Select Preview or Publish.
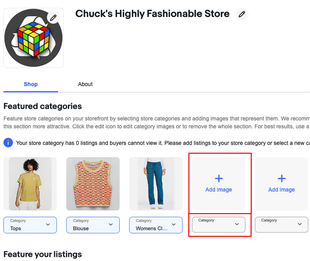
When choosing your image, it’s best to use a square image that's 300 x 300 pixels. Categories need to contain at least one active listing to be displayed on the storefront.
How to create promotions using categories
Now you can create promotions for specific categories in your Store.
✅ To create promotions using categories
Create promotions for specific categories.
1. Go to Seller Hub.
2. Select Promotions under the Marketing tab.
3. Select Create a promotion button on the right-hand side.
4. Choose Coupon from the drop-down menu.

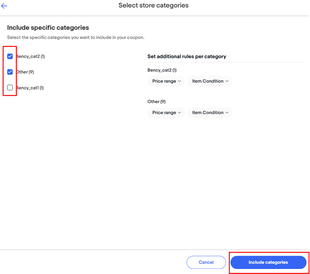
5. Select Specific Store categories under Item eligibility.
6. Select Choose categories link.
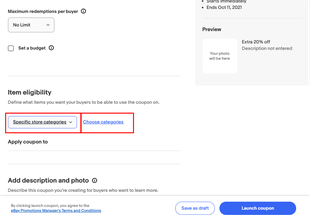
7. Tick the box next to desired categories and select Include categories.
8. Select Include categories.
